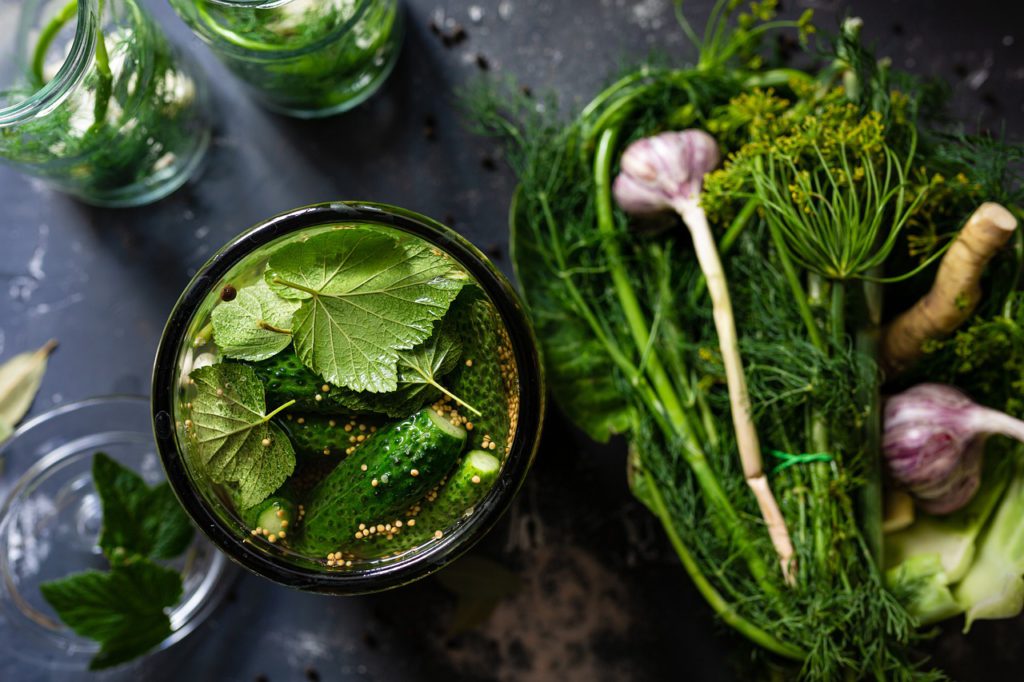
Preserving pumpkin leaves for an extended period involves a careful process to maintain their color, texture, and nutritional value. While leaves are not commonly preserved for such a long duration, it can be achieved through a combination of drying, storing, and sealing methods. Understanding the preservation technique is important for those who wish to travel out of the country with a stock of preserved pumpkin leaves or send it to their loved ones abroad. Follow these steps to ensure your pumpkin leaves stay vibrant and usable for more than a year:
1. Harvesting:
Choose healthy, mature pumpkin leaves for preservation. Harvest them during the plant’s peak growth period, typically before the first frost. Select leaves that are free from diseases or pest damage.
2. Cleaning:
Gently wash the leaves under running water to remove any dirt or debris. Pat them dry with a clean towel. Ensure that the leaves are completely dry before moving on to the next steps.
3. Blanching:
Blanching is a crucial step in preserving pumpkin leaves as it helps to retain their color, texture, and nutritional content. Bring a large pot of water to boil and prepare a bowl of ice water. Submerge the leaves in boiling water for about 2 minutes, then immediately transfer them to the ice water to cool rapidly. This process stops enzymatic activity that could lead to the deterioration of the leaves.
4. Drying:
Once blanched and cooled, carefully pat the leaves dry again. Lay them out in a single layer on clean, dry towels or paper towels. Allow them to air-dry completely. Alternatively, you can use a food dehydrator or an oven set to a low temperature to speed up the drying process. Make sure the leaves are brittle and break easily to indicate thorough drying.
5. Storage Containers:
Choose airtight containers for storing the dried pumpkin leaves. Glass or plastic containers with tight-fitting lids work well. Ensure the containers are clean and completely dry before adding the leaves to prevent any moisture-related issues during storage.
6. Sealing:
To further enhance the preservation, consider adding an extra layer of protection by vacuum-sealing the containers. This removes any remaining air and helps to maintain the quality of the leaves. If you don’t have a vacuum sealer, press out as much air as possible before sealing the containers tightly.
7. Storage Conditions:
Store the sealed containers in a cool, dark place away from direct sunlight. Exposure to light can cause the leaves to lose their color and nutritional value. Maintaining a consistent temperature and humidity level is crucial for long-term preservation.
8. Check Regularly:
Periodically check the stored pumpkin leaves for any signs of moisture, mold, or discoloration. If you notice any issues, remove the affected leaves immediately to prevent them from affecting the rest. Ensure the containers remain sealed after each check.
9. Labeling:
Label the containers with the date of preservation. This helps you keep track of the leaves’ age and use the oldest leaves first. Proper labeling ensures that you maintain a rotation system, preventing any leaves from being forgotten and potentially going to waste.
10. Rehydration:
When you’re ready to use the preserved pumpkin leaves, rehydrate them by soaking in warm water for about 15-20 minutes. This process helps restore some of the moisture and pliability to the leaves, making them easier to work with in culinary preparations.
11. Culinary Uses:
Preserved pumpkin leaves can be used in various culinary applications, such as soups, stews, and traditional dishes. They add a unique flavor and nutritional value to your meals. Experiment with different recipes to make the most of your preserved pumpkin leaves.
Preserving pumpkin leaves for over a year requires attention to detail and a commitment to maintaining optimal storage conditions. By following these steps, you can enjoy the benefits of home-preserved pumpkin leaves long after the harvest season has passed.

